Basic DIY Tools
Paul has been busy the last few weeks with the JBH Mitre 10 annual trade show which connects local tradies with new products and services. While he has been working on this we thought we’d take an opportunity to talk to those in the know about what every D.I.Y. er needs as a basic tool kit.
The list is in and is as follows:
Basics:
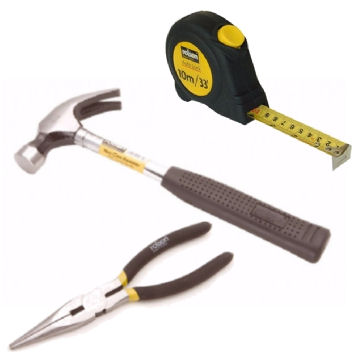
Hammers. Jigsaw. Tablesaw. Tape measures. Straight edges.
Good eye protection – purchase more than one. It’s a pain looking through hazy glasses and they get scratched and cloudy with time.
A decent dust mask – you get what you pay for here. Better ones offer more protection and a better fit.
Good hearing protection; Don’t scrimp too much here, ours are around $45 and very good. Cheaper versions don’t cut the sound nearly as well.
Good hand protection – when working with reclaimed wood wear rubber dipped gloves.
Clamps – holds wood in place.
Worktables – use fold up ones inside the garage.
Workmate – portable / collapsible worktable that is geared for easy clamping.
If you don’t know which brands of tools to get, many suggest borrowing from a friend to get a feel for what you might like. Or go into the store and hold what you desire to have. Make sure it’s comfortable in your hands and it offers all the options you’re after.
Bigger necessities
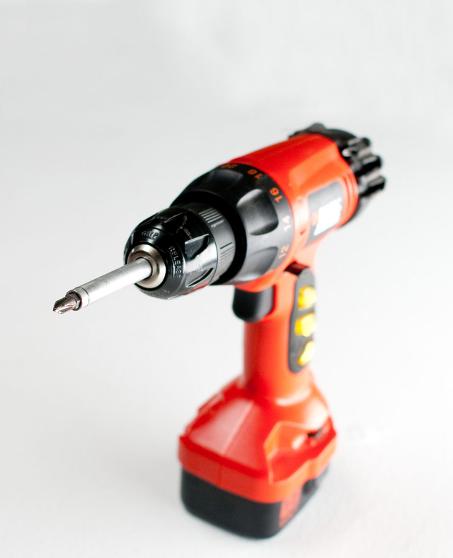
Cordless drill: Cordless drills come two ways… with or without a chuck. I recommend getting a 2 pack so you have one of each. They are cheaper this way, as well as you’ll have one set up to predrill holes and the other to do the building with. MUCH quicker than changing out the bits constantly.
* a chuck requires a twisting motion to replace the bits – offers more options such as speed options and strength
* a non chuck has you changing out bits effortlessly – easier to use, not quite as powerful
Portable Cordless drill tool kit
We have a Makita cordless drill bit kit. The fact that you don’t have to go digging around for what you need. It’s like a purse of sorts. Everything is intact and promise me, you won’t need much more for the average build than what’s in this kit.
The screwdriver bits come in different lengths, which is handy, but I admit to grabbing the long ones first. So if you find a kit with just the long, you won’t miss the short.
Compound miter saw; If you only could have one saw, this would be the one. I love the fact that the saw sits on the table for stability vs holding a saw in mid air, having to balance the weight and the cut. A table top miter saw is the safest way to go, or at least to start with.
Hand held palm sander: There are two types you can choose from… the clamp on variety or the orbital (velcro type). I like both for different reasons. I find the orbital easier to change but like the motion of the clamp on better. I like having both on hand.
Toolbox for just screws
Workspace:
You need a place to work. A garden shed will work well here but check with your local Council regarding permissions. Work outside whenever the weather allows; this will cut down on fumes from products used or dust from sawing wood.
A portable table of some sort. Find one at a thrift store for or use two sawhorses and a few planks.
Good practices:
Wear tighter fitting clothing. Tie long hair back. Get help if you don’t know how to use a tool. Practice before doing the actual work. Work outside when you can – less dust to breathe in.
Tool collecting takes time. Purchase as you need, and in no time you’ll have a workshop anyone would like.


