July 5 - 11, 2015: Issue 221
DIY Wooden Toy Cars and Perfect Painted Flowerpots
School Holidays Fun – Winter 2015
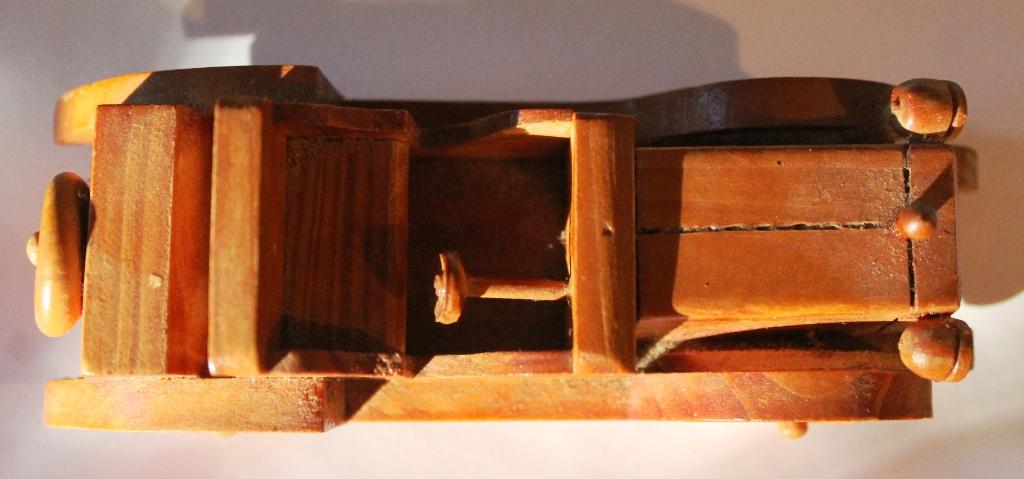
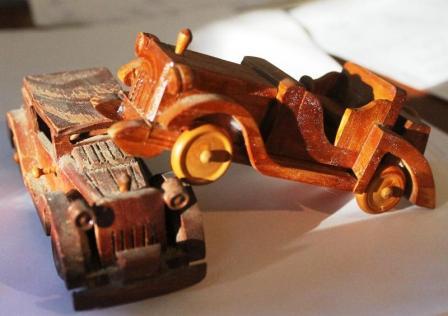 If you have a little man who likes to play ‘stacks’ with his toy cars making a wooden alternative may ensure the junior Brabham or Brock in your family can play car racing for a little longer. This is also one of those DIY School Holiday activities you can do together – construction and decoration (or ‘paint work’) can be shared equally.
We include a simple model and links to free plans for more complex for those who like a challenge – either way you could build your own fleet of cars for your youngster and these are so hard wearing he, or she, may be able to pass them on in time to the next generation of in-family racers.
There’s also something for all those little ladies who love flowers and flowerpots that will encourage more creativity and make something attractive and unique to make your home brighter.
Simple Wooden Toy Car
Tools and Materials
• 20.32 centimetres of 1X4 (19mm x 90mm) pine board – or timber of your choice – hardwoods will lat longer and look nicer of you’re going to do a simple sand/stain or varnish finish
• 15.24 centimetres of 3/16 dowel rod
• Coping Saw
• 1.2500 drill bit
• 0.875 flat wood bit
• 1.5000 hole saw with .47625 cm guide bit
• Drill
• Clamp
• Non- Toxic Paints (art)
• Varnish – optional
• Wear Protective gear when cutting out wood – goggles and mask
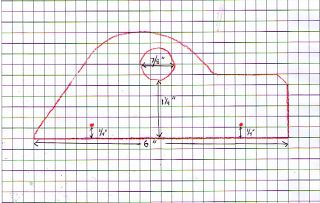 Cut out the pattern and trace it onto one corner of the pine board. Be sure to also mark the holes for the axles and the window. Then, clamping the wood firmly in place, cut along the traced edge with the coping saw.
Drill the two holes for the axles using the drill bit, and then drill out the window using the flat wood bit.
Using the remainder of the 1X4 board, cut out the wheels using the 1.5 hole saw. Then cut the dowel rod in half, so that you have two 7.62 axle pieces.
Sand all the rough edges. Then, insert the dowel rods into the wheels and tamp lightly with a hammer until they slightly protrude from the other side. After that, you can put the axles on the car and tap on the remaining wheels from the other side. Varnish or help your youngster to paint on some numbers and colour prior to varnishing.
Car stencil courtesy of Instructables - click on and 'save as' on your PC.
Toy Wooden Cars – Free Plans, courtesy Woodworking Downunder
1930’s Roadster: www.woodworkingdownunder.com/wooden_toy_car_plans.html
1920’s Racer: www.woodworkingdownunder.com/toy_car_plans.html
Batmobile: www.woodworkingdownunder.com/batmobile-toy-car.html
All are PDF’s at 25 kb per plan
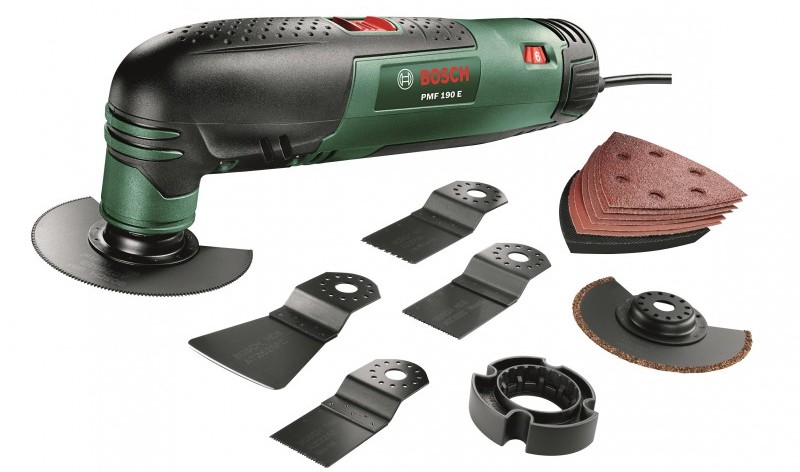
Bosch 190W Multi Tool: $179.00; QUICK OVERVIEW: 15,000-21,000rpm, No-load speed, 2.8 degree Oscillation Angle, 4 step depth stop for segment saw blades, Continuously variable speed, Pre-selection for material specific working, Vibration reduction technology, Comes with 10 accessories.
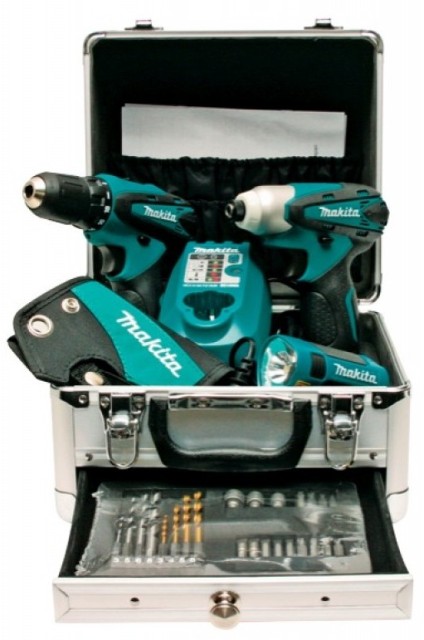
Makita 10.8V Li-Ion Mobile Kit; $250.00, QUICK OVERVIEW: Includes drill driver, impact driver, torch, 2 x 1.3Ah batteries, charger, 24 Piece bit set, holster and steel carry case.
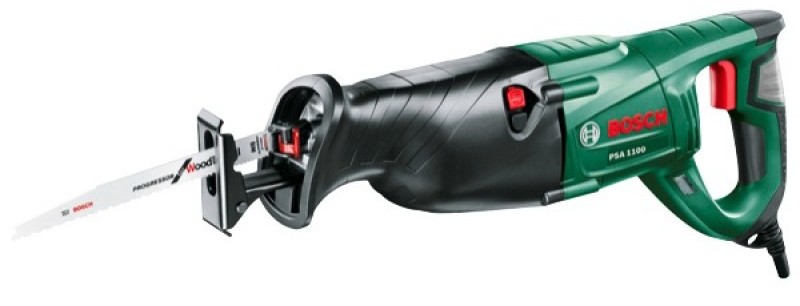
Bosch 1150W Reciprocating Saw; $149.00, QUICK OVERVIEW: Vibration Reduction system (VRS), Orbital action, Variable speed improves control, Comfort and convenience due to unique blade change system, Cutting capacity 20mm in steel, 30mm in aluminium, 180mm in wood, On Tool Blade storage
Personalising Your Flowerpots and Herb Trays
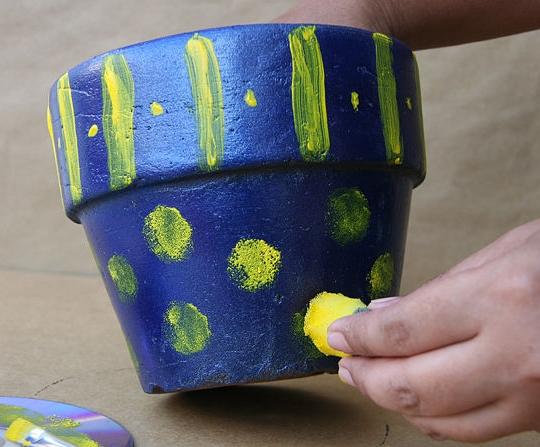 This is one for young and old alike, and definitely one that can be done together. Choose some small to medium to large plain terracotta pots and decorate them with more flowers or scenes from around your home of Pittwater, or anything else that takes your fancy and inspires.
The only time an adult need step in here, unless they are doing this themselves, is when the pots need to be finished with a protective coat of a clear acrylic or varnish. Make sure you use pots with base drainage as sealing the exterior will prevent moisture being able to soak into the soil, and feed what plants you place in these pots, or for it to evaporate out. Good drainage means healthy plants.
Materials and Tools
• Clean terra-cotta pots
• Acrylic paints in assorted colors – good way to use up all those bits of paints in tins at home – or use non-toxic craft paints
• Small or medium foam brushes
• Plastic plates
• Cotton swabs
• Small artist’s paint brush
• Wire brush
• Clear spray acrylic
• Protector mask when spraying acrylic sealer
To begin, remove price tags and stickers from the pot by soaking it in a tub of warm water for up to an hour, then scrubbing it with a stiff brush. Allow the pot to dry completely before painting.
Apply your base coat first and allow to dry on newspaper so you don’t have a nice ring if paint runs. Apply the paint with a foam brush, working around the pot in broad strokes and make sure you don’t coat the base so water may drain. Extend the paint an inch or so down into the top of the pot. Terracotta pots will absorb a lot of paint. Apply additional coats if you’d like, allowing the pot to dry between coats, until the desired color depth is achieved.
Now for some decoration – you can trace some stencils or just do a free form version of whatever you like – flowers – leaves, or even do a range of pots which are painted with what’s in them for seasons when they are not flowering or fruiting – great for herbs or balcony gardens where chilies or herbs that die off during cold weather are grown, such as sage.
These make a great gift idea too and a row of various sizes inside along the kitchen sink window, or outside, will brighten up your garden and get youngsters more interested in what to plant in them.

Protector P2 Plus Respirator Disposable 3 Pack: $7.20, QUICK OVERVIEW: 3 layer technology inner foam nose bridge, High performance protection, Comfortable to use
Products advice is available from the trained friendly staff at Mona Vale and Avalon Johnson Brothers Mitre 10.


Previous DIY Pages:
Decking Timbers Caring For Your Deck Decking Finishes Privacy Screens I Privacy Screens II Privacy Screening Hardwoods Autumn Paths and Lawns Insulation Batts Plasterboard Ventilation - Edmond's Ecofan Blackboards for Children and Home Spring Lawn Care Shade Sails & Watering Basic DIY Tools DIY Tools - Power Drills Recycle Your Trampoline into An Air Bed How to Build Your Own Backyard Cricket Pitch Christmas Lights Displays around House and Garden Summer Mildew - Refresh, Renew How to Fix Things That Drip and Bump in the Night Time To Plant Winter Vegetables â Raised Garden Beds Layout Orgainsing Your Tool Shed Make Your Own Weathervane Installing A Garden Watering System Decking Oils How To Make Garden Compost How To Winter proof Your Lawn How to create Shabby Chic effect on Timber Furniture How to Build Your Own Raised Garden Bed Growing Your Own Winter Vegetables Winter Heating Guide Prepare Your Yard For Winter Eradicating Noxious Weeds From Your Yard How to Fix Furniture Finishes Part I How to Repair Scratches, Dings, and Dents of Furniture Surfaces - Part II Winter Draughts Fix Classic Wooden Tool Carrier Spring Garden Checklist Part I Install Your Own Skylight Retaining Walls for Saving Soil and New Spring Garden Beds DIY Summer Salad Garden Native Plant Garden for A Fairy Arbour Renewing Short Flight of Exterior Stairs Deck Maintenance DIY Summer Tasks You Can Do In Time to Get to the Beach Garden Ponds for Attracting Birdlife, Dragonflies and for the Soothing Sounds of Water The Salt Air Factor: Maintenance and Protection Creating an Outdoor Dining Arbour, Gazebo or Patio - Part I Creating an Outdor Dining Arbour, Gazebo or Patio Part II Autumn Garden Tasks Autumn DIY Jobs: Waterproof Your Home Checklist Dealing With Dampness Inside the Home Fixing Your Fence Repairing and Replacing Damaged Decking boards DIY Toy Box and Snow Globes: School Holidays Fun - Winter 2015
______________________
John and Bob Johnson - The Johnson Brothers Profile John William Alfred Johnson - The Eulogies for those who could not attend Mass
Copyright JBH Mitre 10, 2015. All Rights Reserved .
